Develop your photographs. Never touch the originals.
A photo editor for iPhone, iPad, Android, Mac and Windows. Tone, colour, curves, masks, spot removal, optics and geometry — every adjustment stays live, reversible and exactly as you left it, and none of it is ever written back into your file. When a job needs real pixels, Pixel Studio does it on a copy.
Your original is opened to be read, and stays that way.
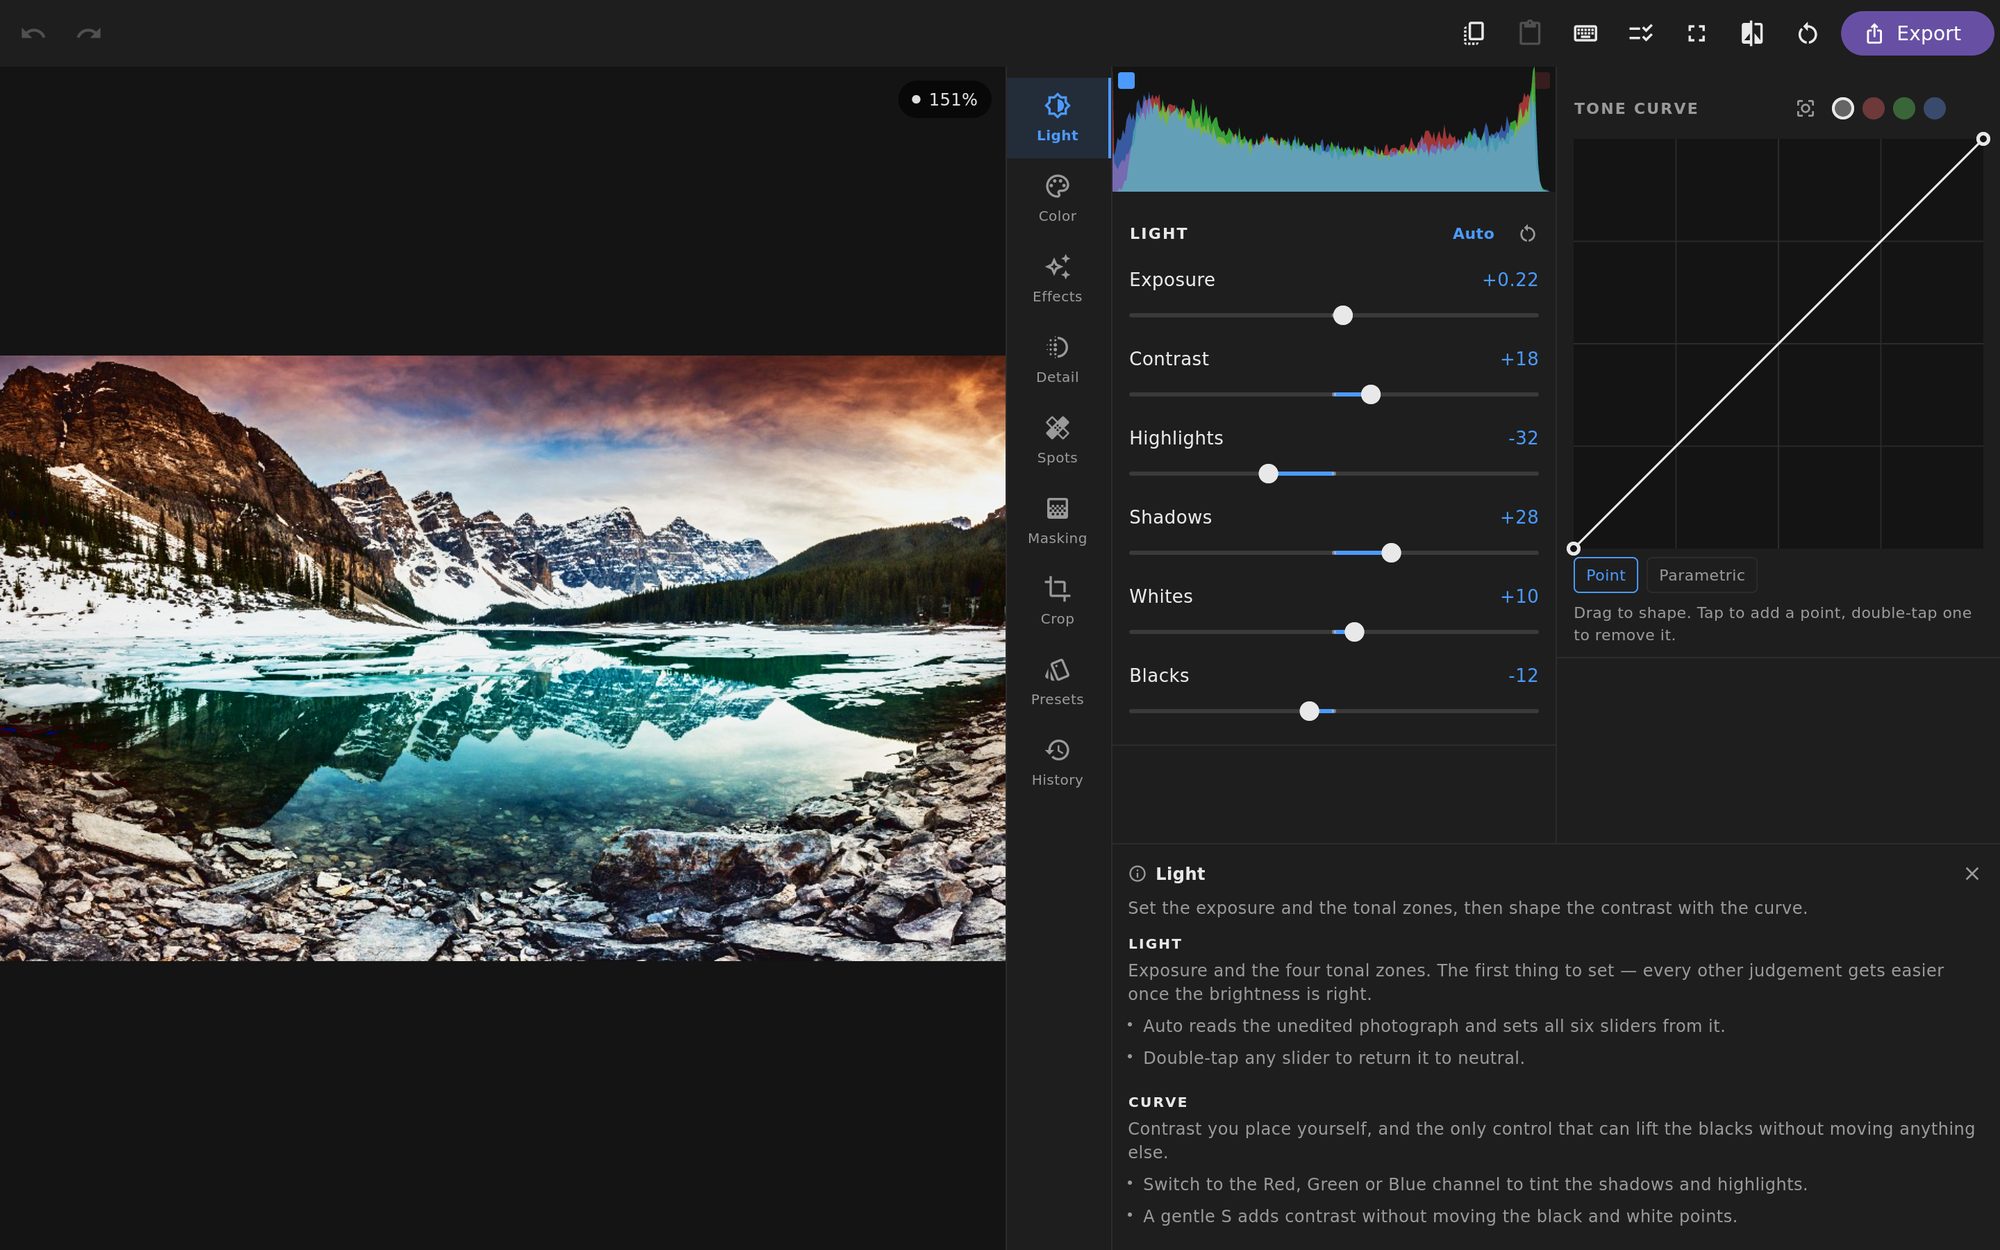
Three ideas, and everything else follows
Most photo apps bake your edit into a new file and throw away what you did. This one keeps the edit and throws away nothing.
Your edit is a recipe, not a rendering
Every slider you move accumulates into a small, complete description of the whole edit — not into pixels. It is the unit of presets, of copy-and-paste, and of making a whole shoot consistent. Change your mind about the exposure a year later and the crop, the masks and the grading are all still there, still live.
The original is never modified
The file that came off your camera is opened to be read and is never written to. What you get out is a new file, made on demand — even from Pixel Studio, which retouches a copy. There is no destructive save, no quality lost to re-editing something that was already compressed once, and no way to lose the original by editing it.
What you see is what you get
You work against a fast preview, so nothing lags behind your finger. The export applies that same edit to the full-resolution original by the same route — so the preview is not an approximation of the result. It is the result, smaller.
Develop, retouch, export
Each of these is a real screenshot of the app. Follow any of them for the detail.
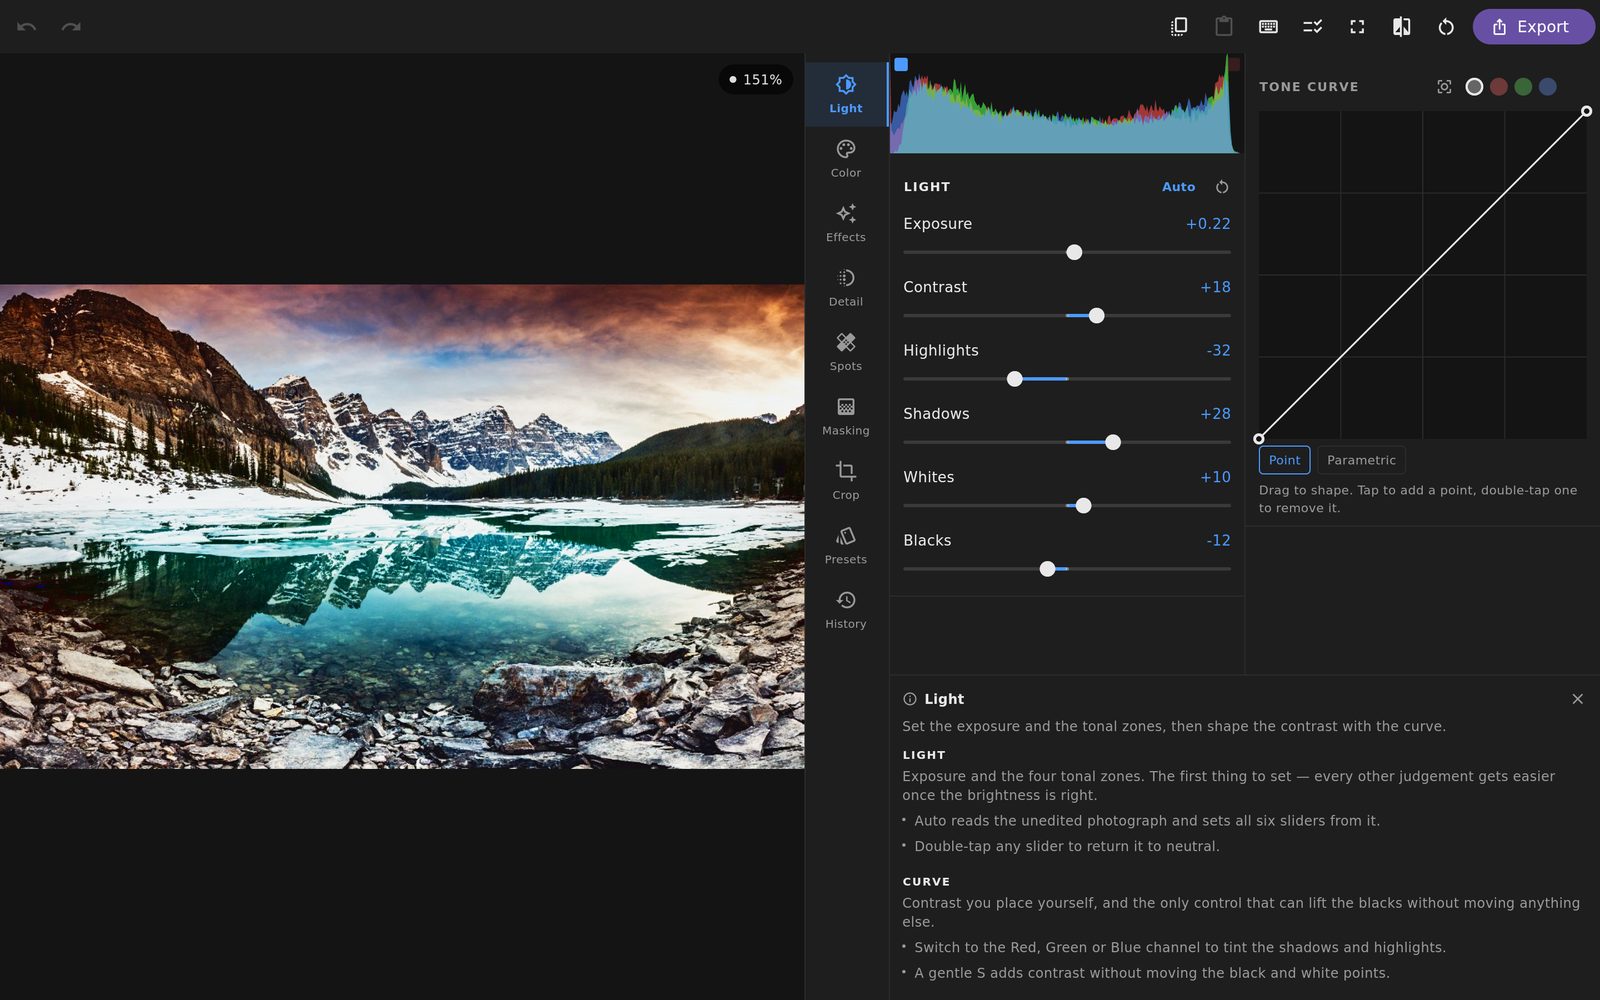
Non-destructive by design
Your original file is opened to be read and never written to. Your edit lives beside it as a small, complete recipe — which is what makes everything else on this list possible.
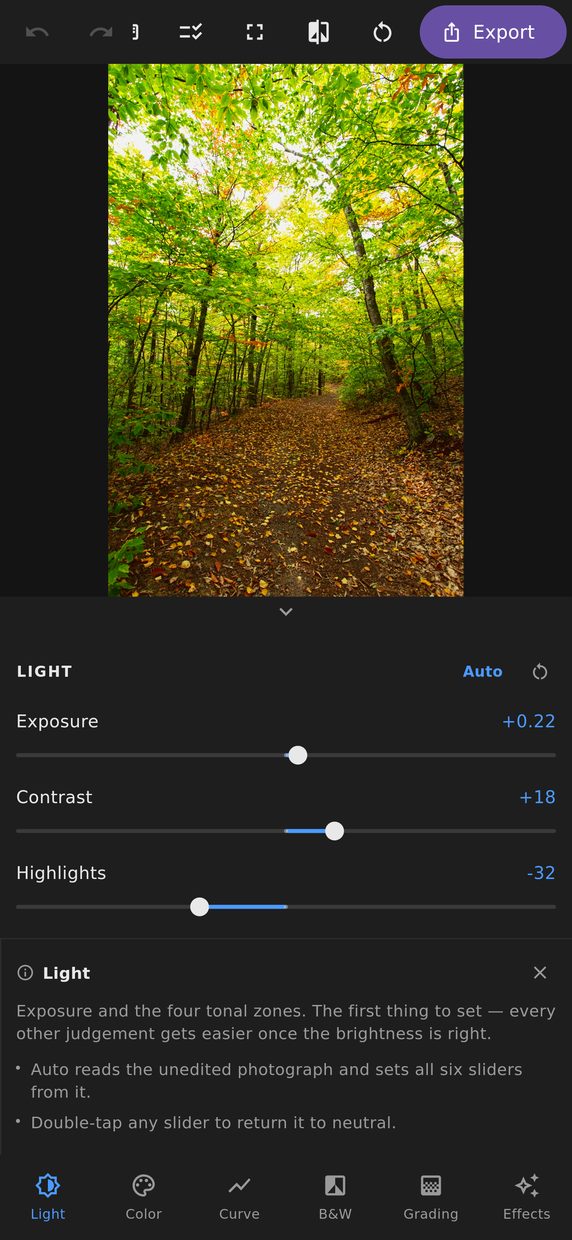
Light
Exposure, contrast, highlights, shadows, whites and blacks — the six sliders that decide how much of the picture your camera actually recorded ends up visible.
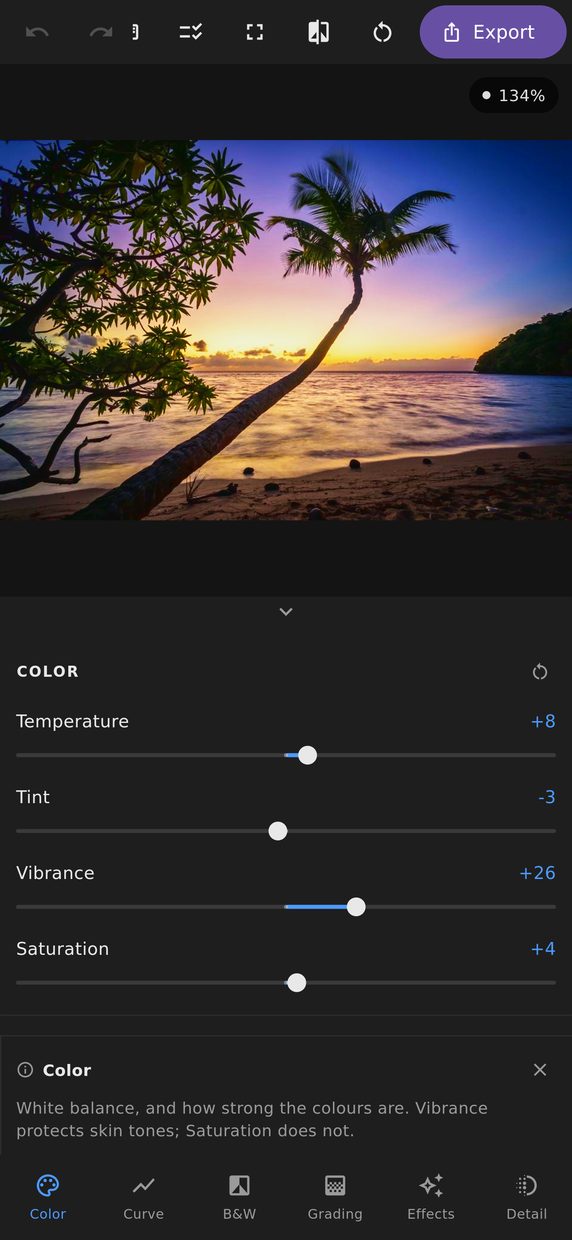
Colour
White balance, vibrance and saturation, plus an eight-band Colour Mix that lets you move one colour in the frame without dragging the others along with it.
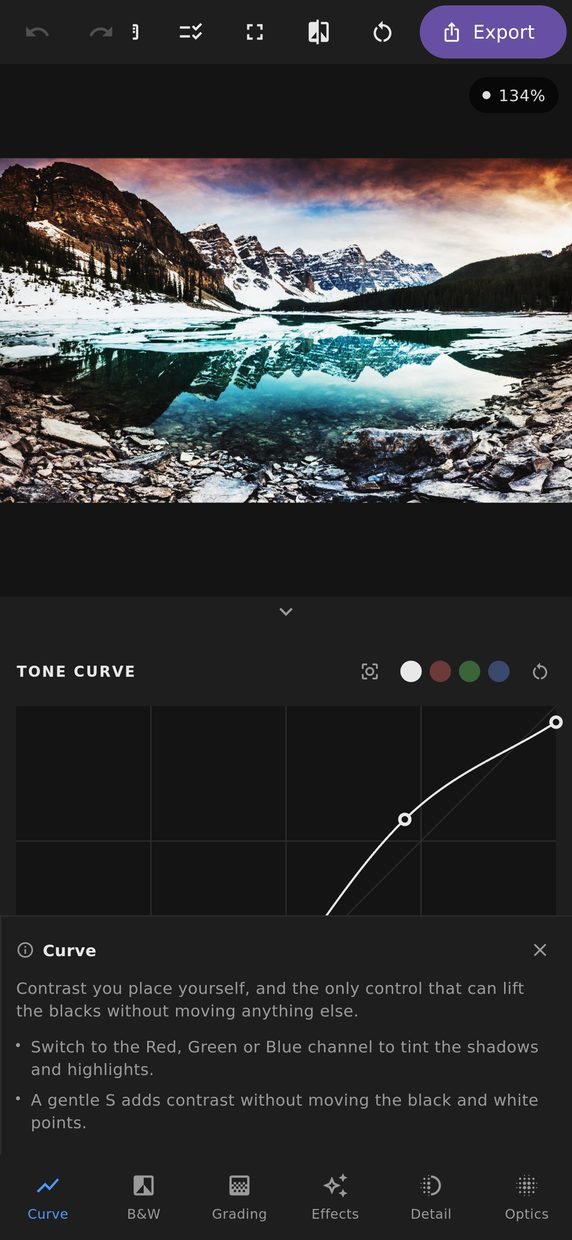
Tone Curve
A composite curve and three per-channel curves, dragged directly, interpolated so that a curve you can draw is always a curve that behaves.
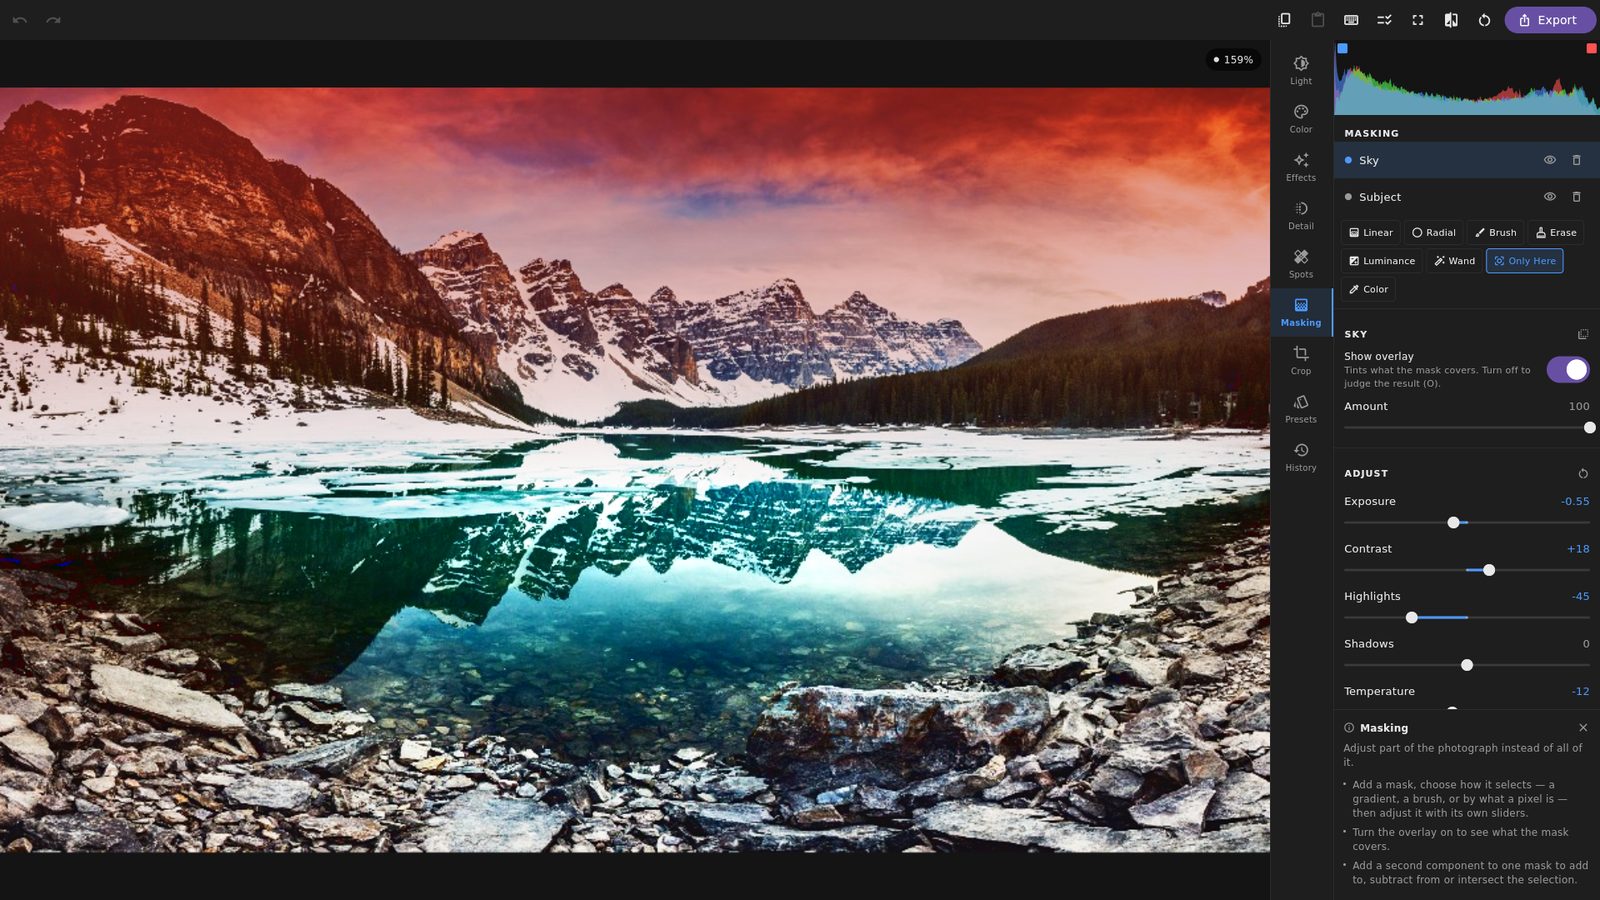
Masking
Linear and radial gradients, a feathered brush, luminance and colour ranges, and a wand that selects what you point at — combined with add, subtract and intersect, each carrying its own full set of adjustments.
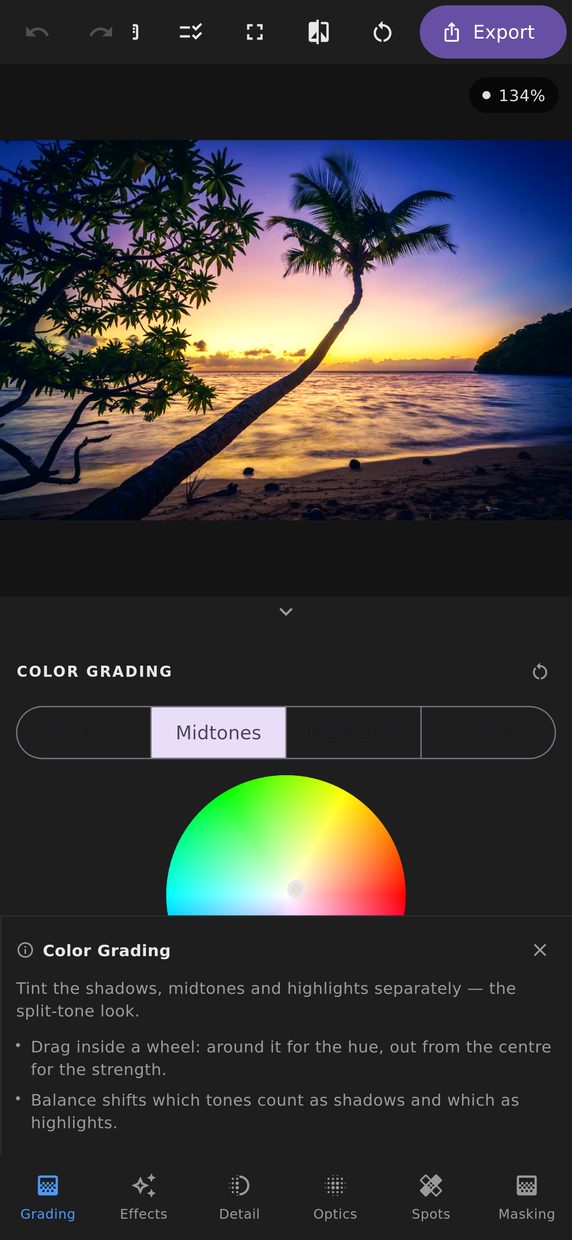
Colour Grading
Four colour wheels — shadows, midtones, highlights and global — with blending and balance, for putting a deliberate colour into a photograph rather than correcting one out of it.
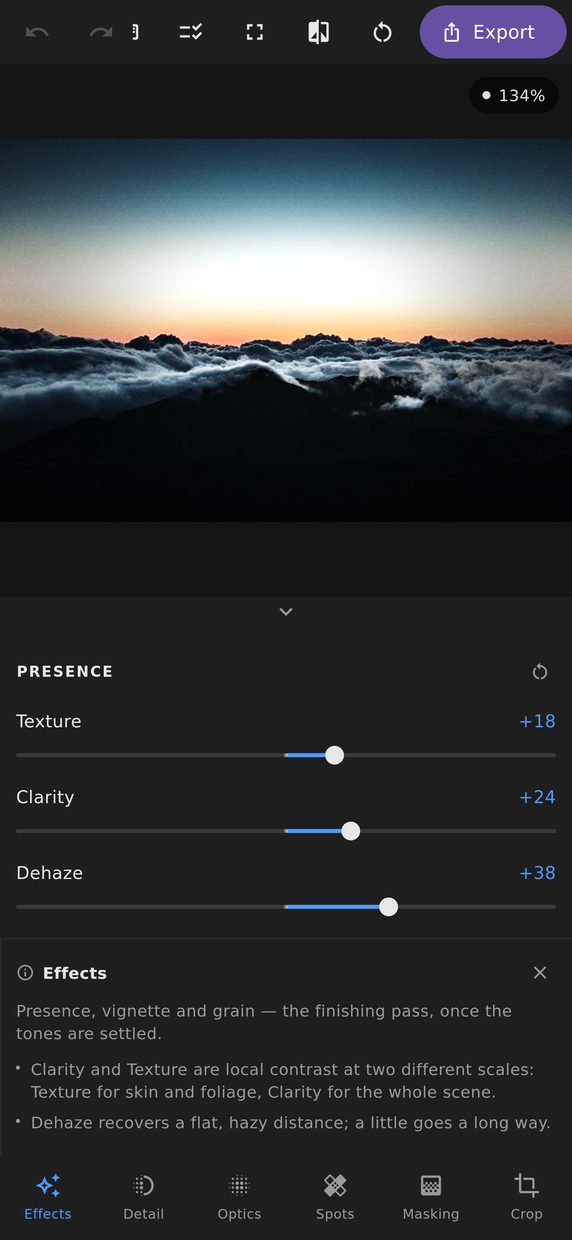
Presence & Effects
Texture, clarity and dehaze for local contrast, then a post-crop vignette and film grain for the finish — all four reading from a blur pyramid that is built once and reused.
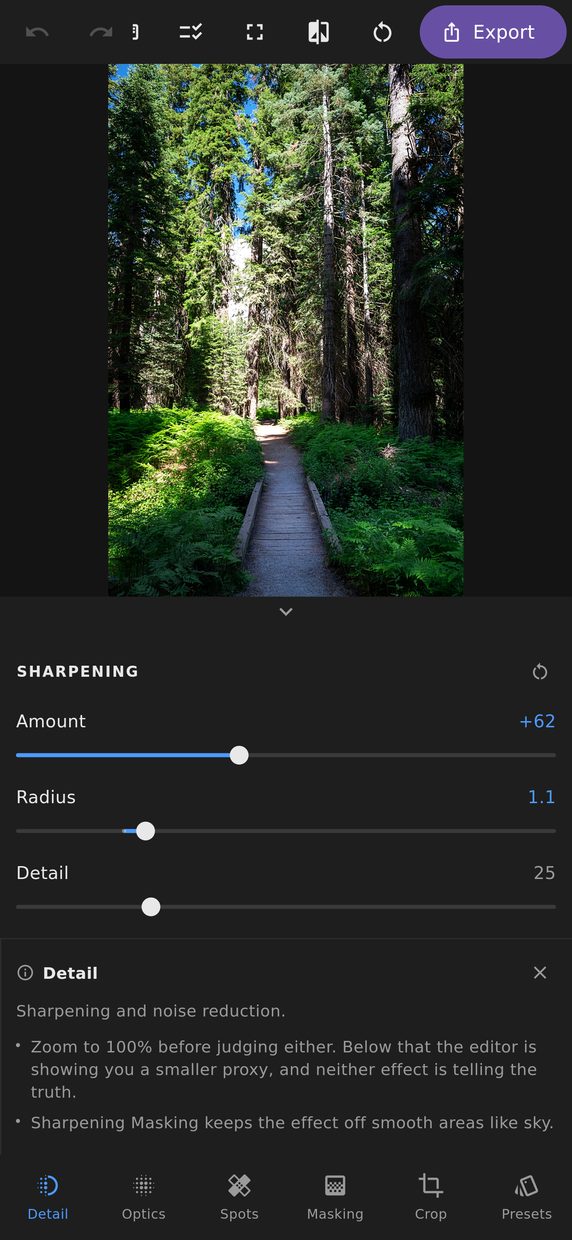
Detail
Sharpening with an edge mask that keeps it off the smooth areas, and luminance and colour noise reduction that keeps detail while removing speckle.
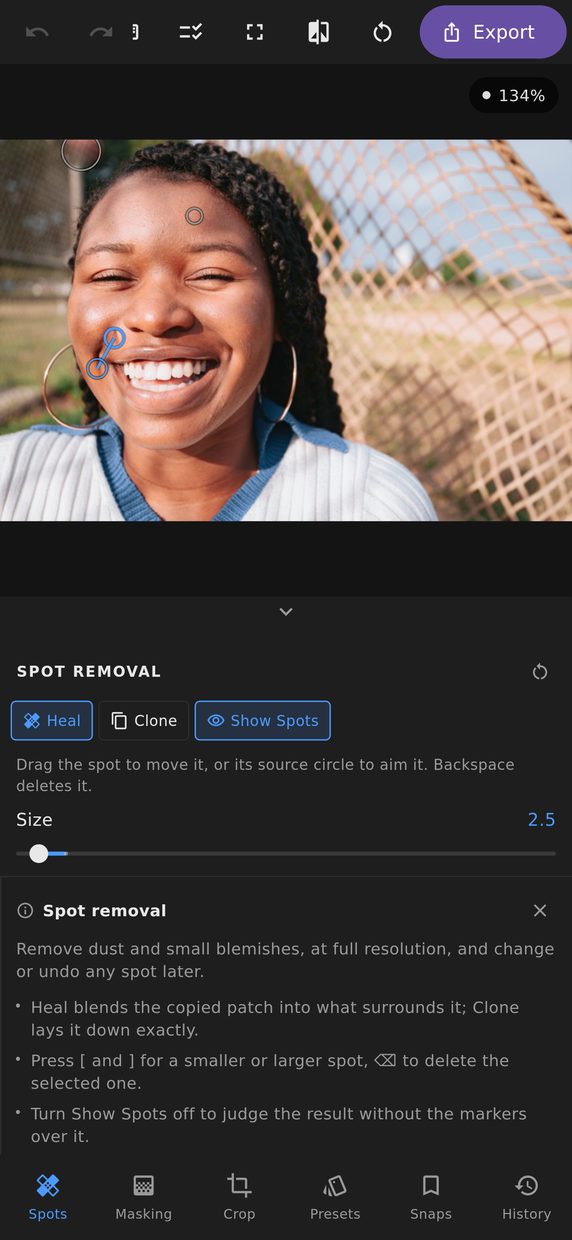
Spot Removal
Tap a speck of dust or a blemish and it goes — healed from material that matches its surroundings, applied at full resolution, and still a spot you can move, resize or delete a year from now.
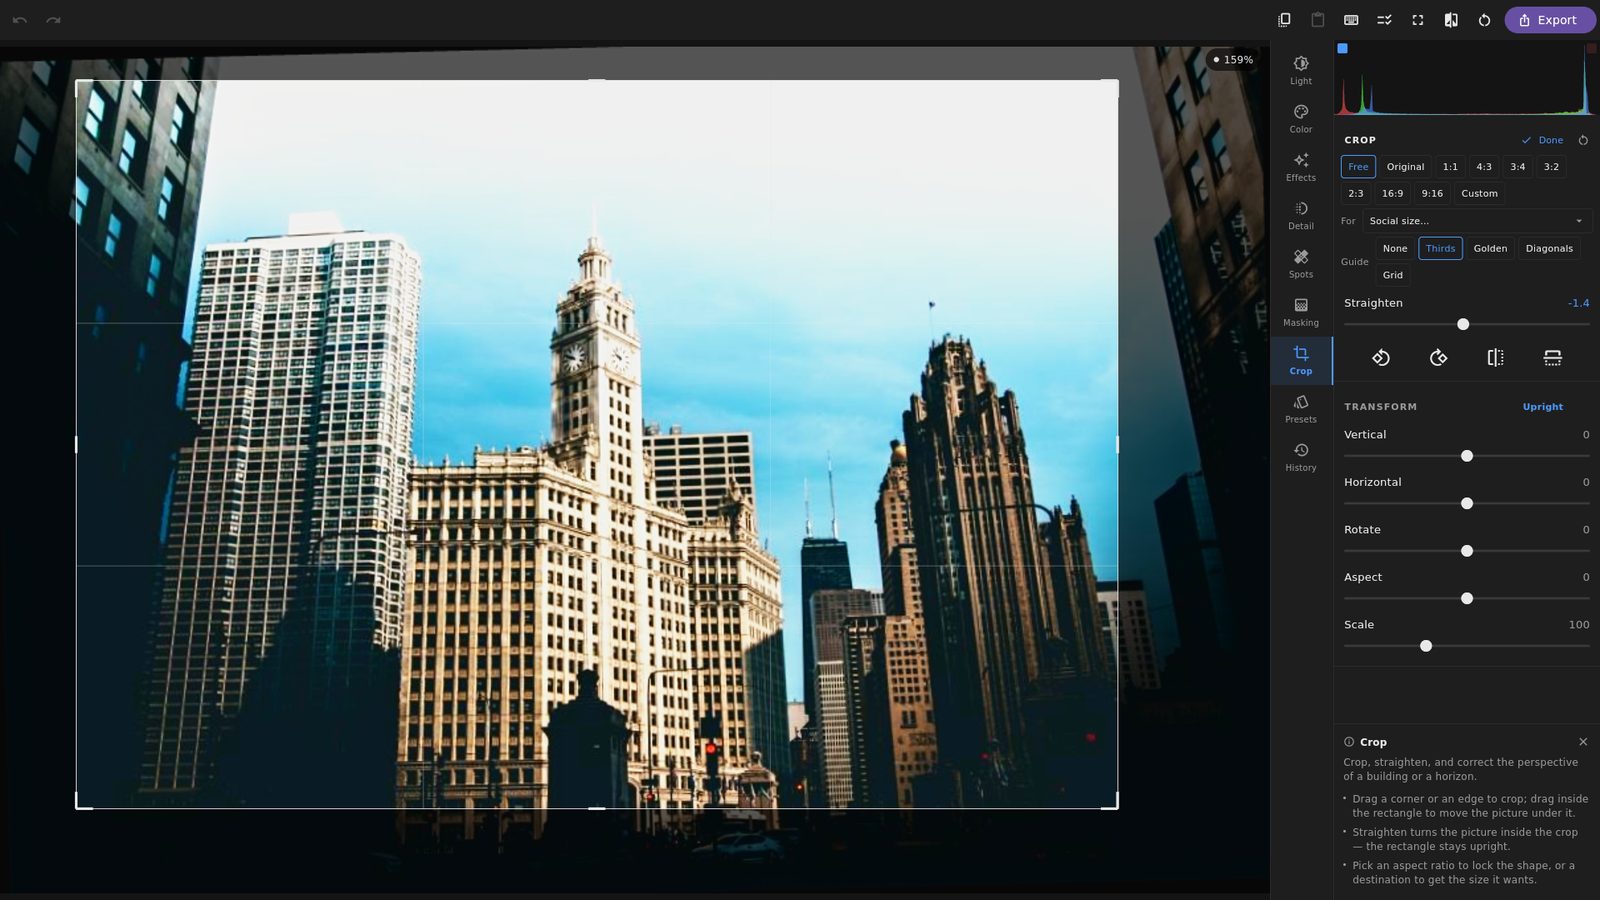
Crop & Transform
A draggable crop with aspect locks and ready-made sizes for where the picture is going, straighten, rotate and flip — and perspective correction that finds the converging lines itself and offers to remove them.
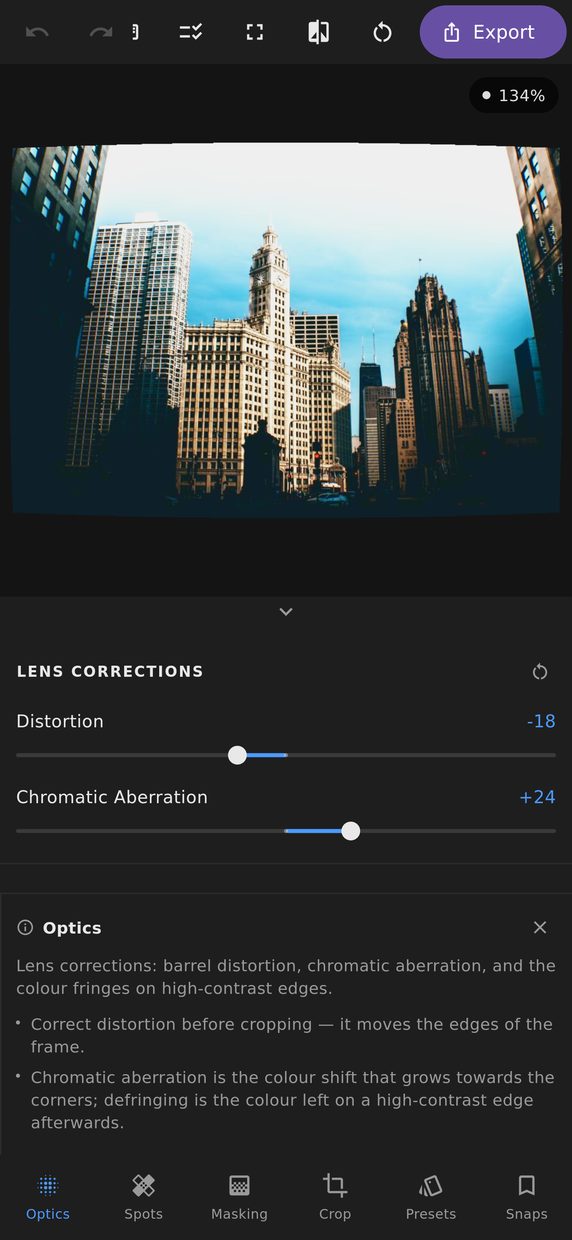
Optics
Lens distortion, chromatic aberration and defringing — corrections for what the glass did, applied at the point in the pipeline where each one can actually see what it needs.
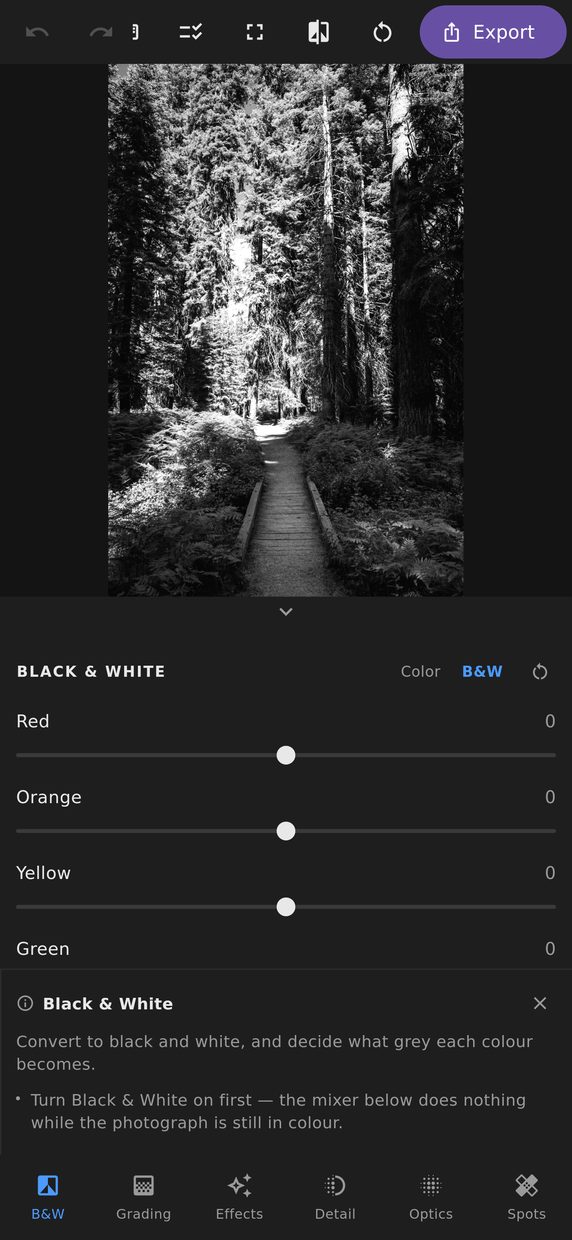
Black & White
A treatment, not a filter: switching to black and white changes what every other colour control means, and the band mixer decides which colours become which greys.
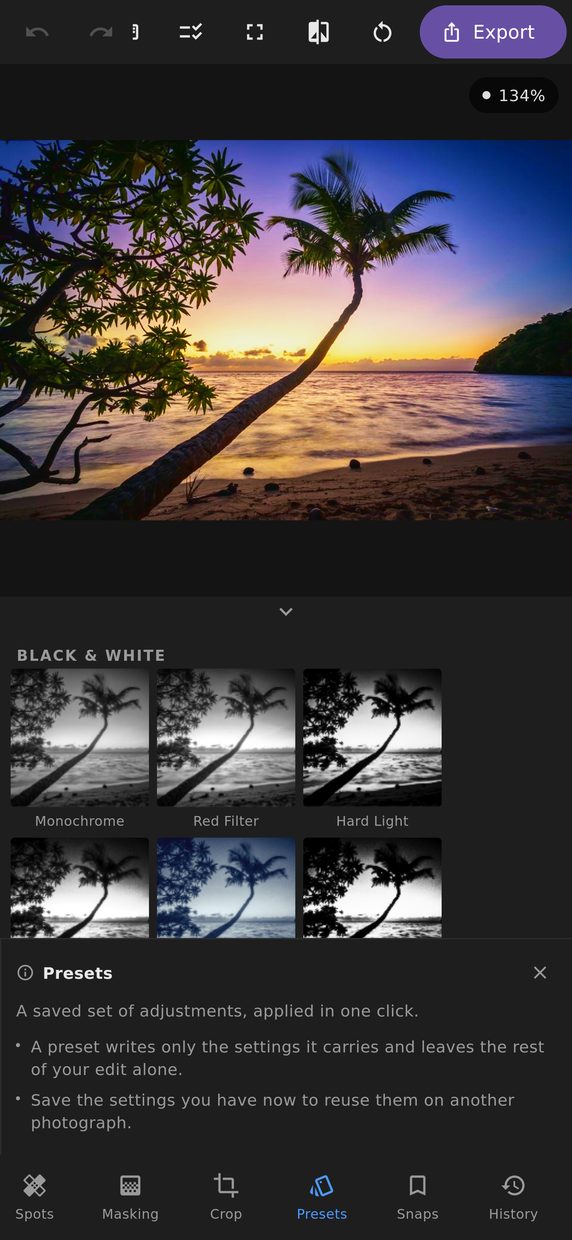
Presets & Copying Settings
Because your edit is a recipe rather than a set of pixels, it can be saved, applied to another photograph, pasted onto fifty, or sent to someone else as a file.
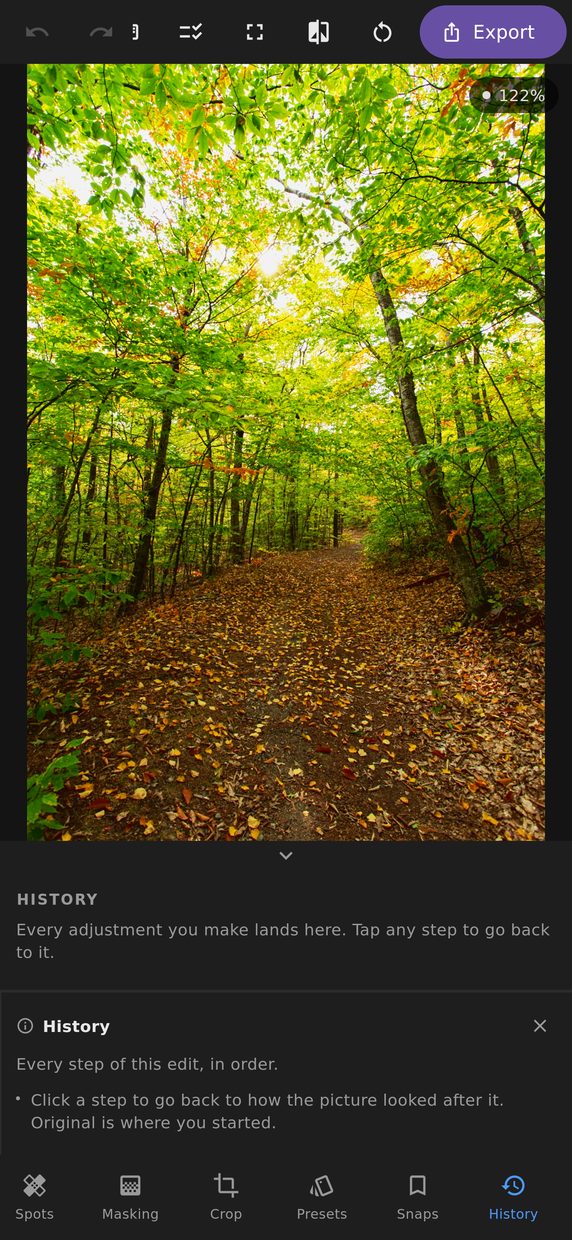
History & Snapshots
Undo that collapses a slider drag into one step, a history list you can jump around in, named snapshots, and a sheet that lists everything your edit is actually doing.
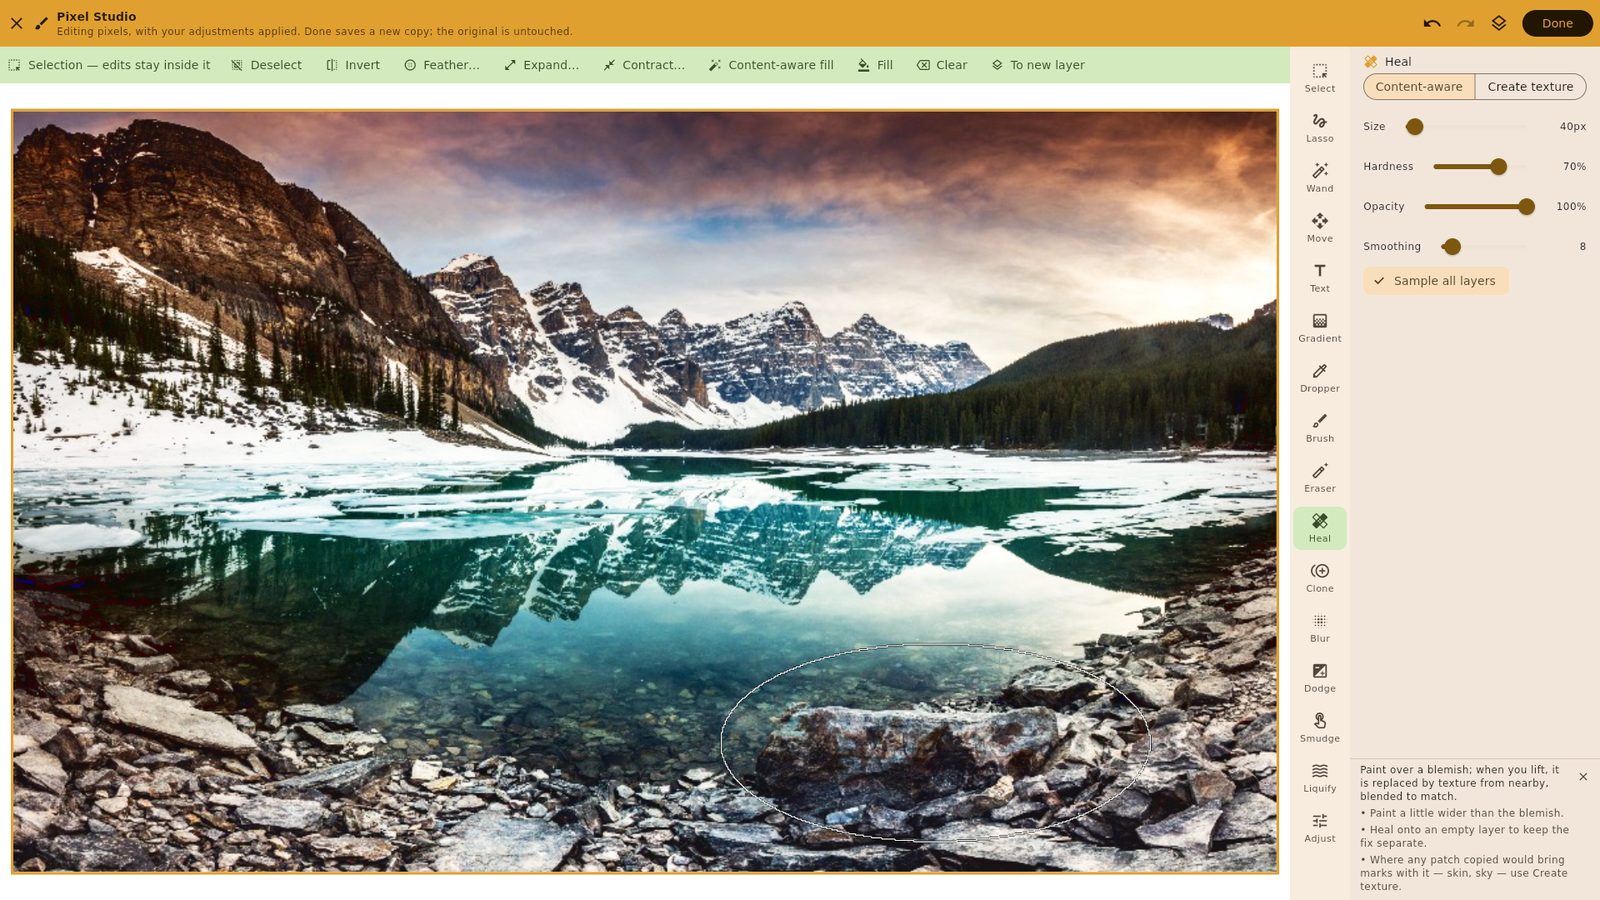
Pixel Studio
For the work a recipe cannot describe: a separate, clearly marked workspace with layers, masks, a healing brush, a clone stamp, selections and content-aware fill — which hands back a new photograph and leaves the original exactly where it was.
Export
Your edit applied to the full-resolution original by the same route the preview took, with a privacy policy that strips your location by default and no upper limit on image size.
Fast enough to think with
An editor you have to wait for is an editor you stop experimenting in. These are the things that decide whether an adjustment feels like a dial or like a render button.
Every slider moves at sixty frames a second
Not "responsive enough" — actually smooth, on a phone, with a full edit already applied. You can drag a slider past the point that looks right and back again, which is how you find out where right actually is.
Local contrast without the wait
Clarity, texture and dehaze are the adjustments that usually make an editor stutter, because each one has to look at the area around every pixel. Here they are prepared once and reused, so tone and colour can keep moving without them being redone.
Big files stay workable
A photograph far larger than the graphics chip can hold in one piece is still edited and exported at its full size, in sections, invisibly. There is no resolution above which the app quietly stops being usable.
Your edit survives the export
An effect measured in screen pixels looks one way in a preview and another in the file — grain that is coarse on screen and invisible at full size, a correction that fades on a large image. Everything here is measured against the frame instead, so what you approved is what you get.
Neutral means neutral
Open a photograph, change nothing, export it, and you have the picture you started with. No setting arrives at a value that is quietly doing something to your image before you have asked it to.
100% means 100%
Double-tap and you are at one pixel of the photograph per pixel of the screen. Past what the fast preview holds, the editor says so and fetches more of the original, rather than letting you judge sharpening against an enlargement.
A guide that knows when to leave
Each tool carries a few lines under its controls — what it is for, and the gestures and keys no button mentions. Close it once you know the tool, and it stays closed for that tool alone, because learning the crop is not learning the wand.
Heavy retouching never freezes the screen
In Pixel Studio a heal, a wand selection or a content-aware fill runs in the background while the picture keeps drawing, and undo is bounded by memory rather than by a count of steps — generous on a desktop, safe on a phone.
It runs on your device
Editing happens on the machine in your hands. There is no upload, no queue and no account standing between you and a photograph, and no requirement to be online at all — unless your photographs are in a bucket you pointed it at.
The same editor everywhere
One app that reflows to the screen it is on — a tablet and a narrow desktop window behave the same way. Every size shows one tool at a time, with a short guide beneath it you can close once you know it, and a wider window buys you more of that tool rather than more empty space.
Your photographs, wherever they are
No library to import into. Point LaRay at the places you already keep photographs and it browses and opens them from there.
Get LaRay
Available for iPhone, iPad, Android, Mac and Windows.