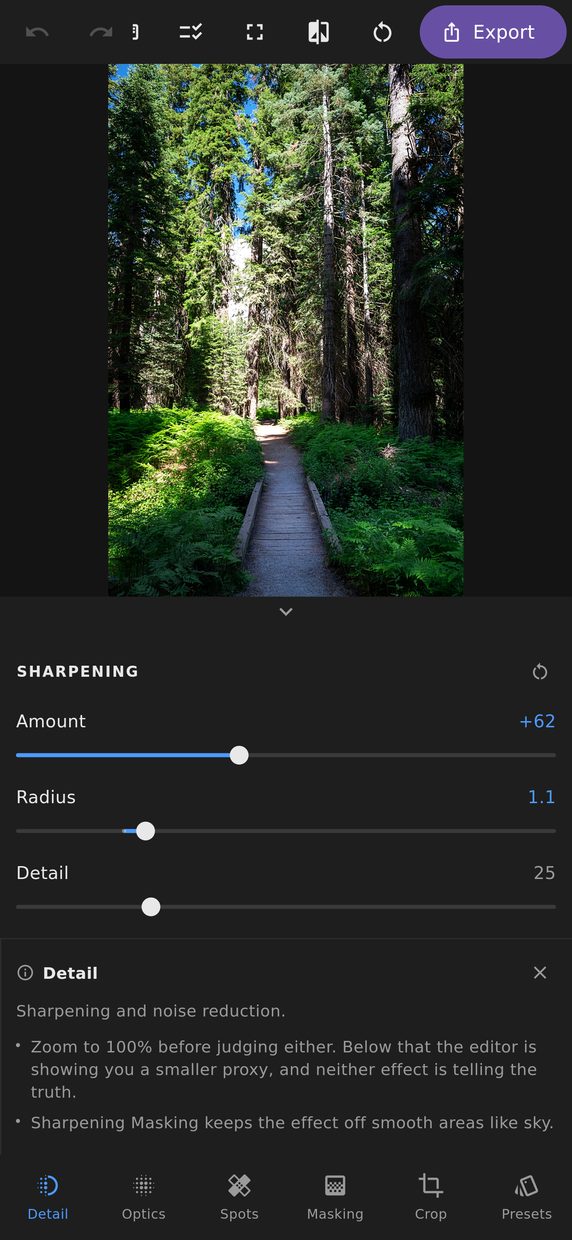
Sharpening and noise reduction pull in opposite directions on the same information, which is why they are one panel: the settings only make sense next to each other.
Sharpening
Amount is how much. Radius is the width of the edge it acts on — small for fine detail, larger for soft or low-resolution sources. Detail controls how much of the finest structure is included.
Masking is the one that matters most and gets used least. It restricts sharpening to places where an edge actually exists. Without it, sharpening amplifies everything equally, including the noise in a clear sky, which is the fastest way to make a clean photograph look gritty. With masking at 40, the sky is left alone and the horizon still gets sharpened.
Noise reduction
Luminance noise removes the brightness speckle that appears at high ISO, with a detail control governing how much fine structure survives it. Push luminance NR too far and the picture goes waxy — that is the trade, and it is unavoidable, because at some point the algorithm cannot tell your subject’s texture from the sensor’s noise.
Colour noise removes the coloured blotches that come from the same place, with a smoothness control. Chroma noise is much less costly to remove than luminance noise, because fine colour detail is not something the eye is very good at anyway — which is why colour NR can usually be pushed harder without visible loss.
Everything here starts at zero
Noise reduction defaults to off, and that is deliberate.
Some editors arrive with colour noise reduction already applied, which means every photograph you open has had a smoothing filter run over it before you have asked for anything. You cannot see what was taken away, because you never saw the version without it.
Here, nothing in this panel is doing anything until you move it. Open a photograph, change nothing, export it, and you get the picture you started with.
Judging it at 100%
Sharpening and noise reduction are the two adjustments that cannot be judged from a fit-to-screen view, because the screen is showing you fewer pixels than the file has. So 100% here means something exact: one pixel of the photograph per pixel of your screen — not of the preview, of the photograph.
Double-tap the picture, or press ⌘1 / Ctrl+1, and you are there; do it again to go back to fit. A readout in the corner of the canvas always says where you are.
A fast preview is smaller than your file, and past a certain zoom it runs out of pixels. Most editors quietly enlarge it at that point and let you set noise reduction against the resampler’s idea of your picture. This one says so instead — the readout marks when the preview is being enlarged — and fetches a larger decode of the original so that what you are looking at is really there. On a very large file it stops at a sensible memory limit rather than loading the whole original onto a phone, and the readout tells you when it has.