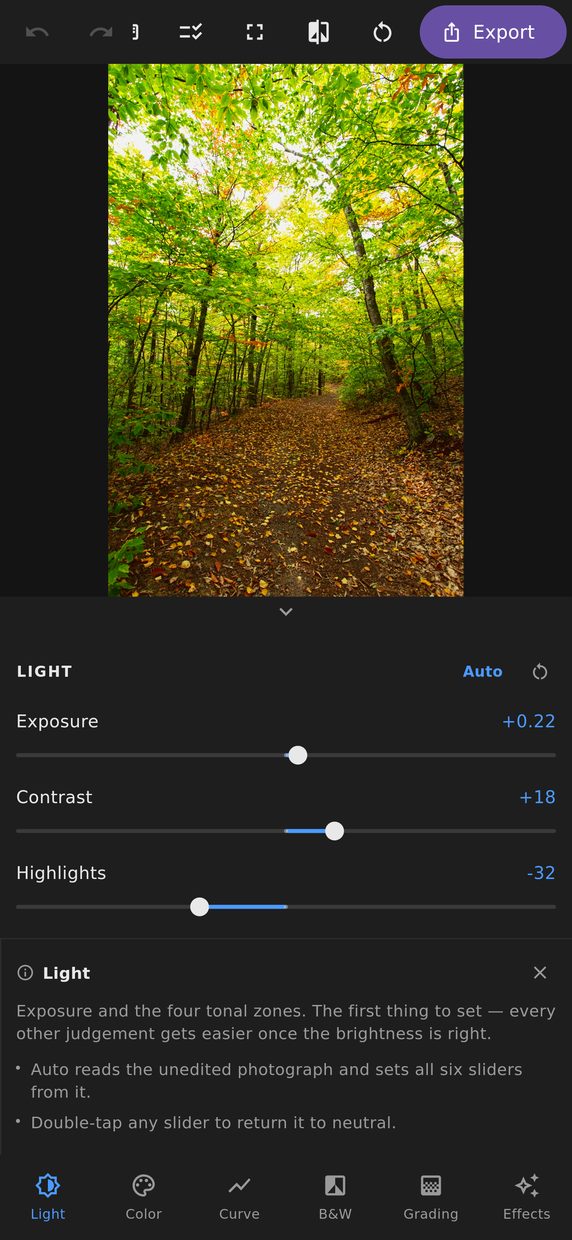
Light is where almost every edit starts, and it is the one panel where the order of the controls is doing real work. Exposure moves the whole picture. Contrast pushes the ends apart around the middle. Highlights and shadows recover the two ends without touching the middle. Whites and blacks set where the ends actually stop.
Why six sliders instead of two
A single brightness control has to choose between rescuing a blown sky and opening a dark foreground, and it cannot do both — brightening for the shadows destroys the highlights on the way. Splitting the range means each slider can work on the part of the tonal scale that needs it and leave the rest alone.
That is why highlights at −40 and shadows at +40 is such a common pair: it is not “more contrast”, it is the opposite. It compresses a scene whose dynamic range was wider than the print or the screen can show, so that detail survives at both ends.
The histogram is not decoration
The histogram sits above the canvas and updates from the render itself, not from a prediction. Its two clipping indicators light when pixels have been pushed past pure white or crushed to pure black — the two states no later adjustment can undo, because the information is genuinely gone.
Whites and blacks are the sliders you use to set those points deliberately. A photograph with no true black often looks flat and slightly foggy; one clipped too far loses the texture in its darkest areas. The indicators tell you which of the two you are doing.
Auto
Auto analyses the image and proposes a starting point for the six values. It is a starting point, not an answer — every slider stays exactly where Auto put it and can be moved from there, and the whole thing is one undo step away from being gone.
It keeps up with you
All six move at full speed, with everything else in your edit already applied. Nothing is recomputed while you drag and nothing catches up afterwards, so you can push a slider past the point that looks right and bring it back — which is usually the only way to find out where right actually was.