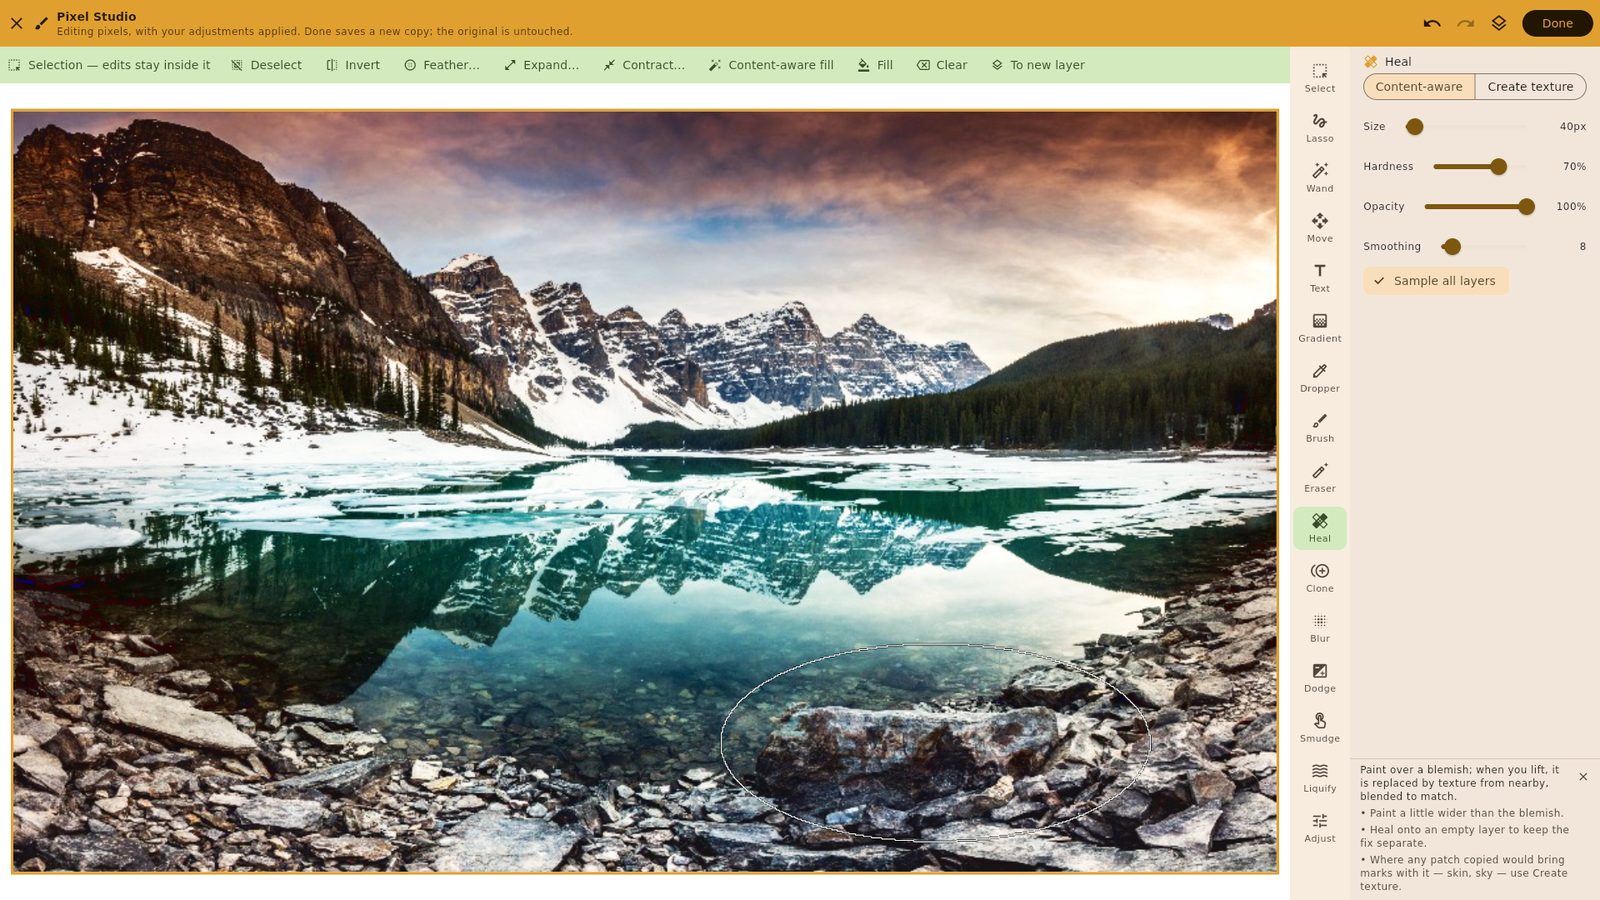
Everything else on this site is a description of a photograph: numbers that are applied fresh every time. Some work cannot be written down that way. A heal that follows a hand-drawn stroke, a clone assembled from ten strokes, a person removed from the edge of a beach — those only make sense as pixels.
Pixel Studio is where that work happens, and it plays by different rules on purpose.
A different mode, and it looks like one
You go in through a labelled Pixels button, never by accident. An amber bar across the top says what is happening — editing pixels, with your adjustments applied; Done saves a new copy, the original is untouched — and the same amber frames the picture and marks the chosen tool and layer. The develop module uses no amber at all, so there is never a moment of wondering which one you are in.
You leave by Done, which stays disabled until something has changed, or Cancel, which asks before throwing work away. The back gesture counts as Cancel.
Your original stays untouched
Opening the studio bakes your current edit into pixels. Done saves the result as a new photograph, written beside the original where the storage allows it, carrying the original’s date and camera details under your export privacy policy. The new photograph opens in the editor with an empty edit, so everything you know about developing applies to it from the start. The original and its edit are unchanged, one tap away.
Layers
Layers with opacity and blend modes — normal, multiply, screen and overlay, which is what retouching actually uses. Layer masks hide without erasing, and move with their layer. Adjustment layers bring the editor’s Light, Colour and tone-curve controls in as a layer, changing everything beneath it through its own mask without changing a single pixel.
Heal and clone onto an empty layer and every fix stays separate: switch it off to see what it did, lower its opacity, or delete it without touching the rest. That is the retoucher’s habit, and the studio’s tools are built to encourage it.
The tools
- Healing brush — follows any stroke, not just a circle. It searches around the stroke for a matching source and blends it in so the fix disappears. Create texture mode fills from the surrounding grain instead, for skin, sky and soft backgrounds where any copied patch would bring its own marks.
- Clone stamp — aligned or not, from this layer or from everything visible.
- Brush and eraser, with an eyedropper that shows old colour against new in a ring big enough to see past a fingertip.
- Blur and sharpen, dodge and burn over a chosen tonal range, smudge and liquify.
- Gradients, dithered so a long sky does not band.
- Move and transform — scale and rotate a layer, resampled once when you apply it.
- Text layers that stay editable until you paint on them.
Every brush has a smoothing control that steadies an unsteady hand, and keeps its own size and hardness, so a 300-pixel soft heal and an 8-pixel hard clone can both be waiting for you.
Selections, and filling them
Select with the marquee, the lasso, or the wand — which takes the region you tap, or every pixel of that colour in the frame — and add, subtract or intersect. Feather, expand, contract or invert it, or paint it directly in quick mask. A selection confines every tool, so a heal cannot wander past a horizon you have drawn around.
Content-aware fill invents what should be under a selection from what is around it: select the stranger, fill, and the beach carries on through where they were standing.
Heavy work stays responsive
A heal, a wand selection or a content-aware fill runs in the background, so the studio keeps drawing while it works. Undo keeps whole versions of your work but shares everything that did not change between them, and is limited by memory rather than by a count of steps — so it is generous on a desktop and still safe on a phone.
Layers you can take elsewhere
The layers are kept as OpenRaster (.ora), the open layered format that GIMP, Krita,
MyPaint and Pinta read and write. The studio saves them beside the result, so you can come
back and carry on — or open the file in another program and find your layers there. Open an
.ora from any of your photo sources and it goes straight into the studio with its layers
waiting.
Why not do all of this in the editor?
Because the editor’s promise — every edit live, reversible, resolution-independent and portable — only holds for edits that are descriptions. Small, parametric retouching stays in the editor as Spot removal, where it is applied at full resolution and editable for ever. Everything that needs pixels comes here, and the result goes back to the editor as a new photograph to develop.